Showing posts with label mosaic pebbles. Show all posts

Monday, May 20, 2013

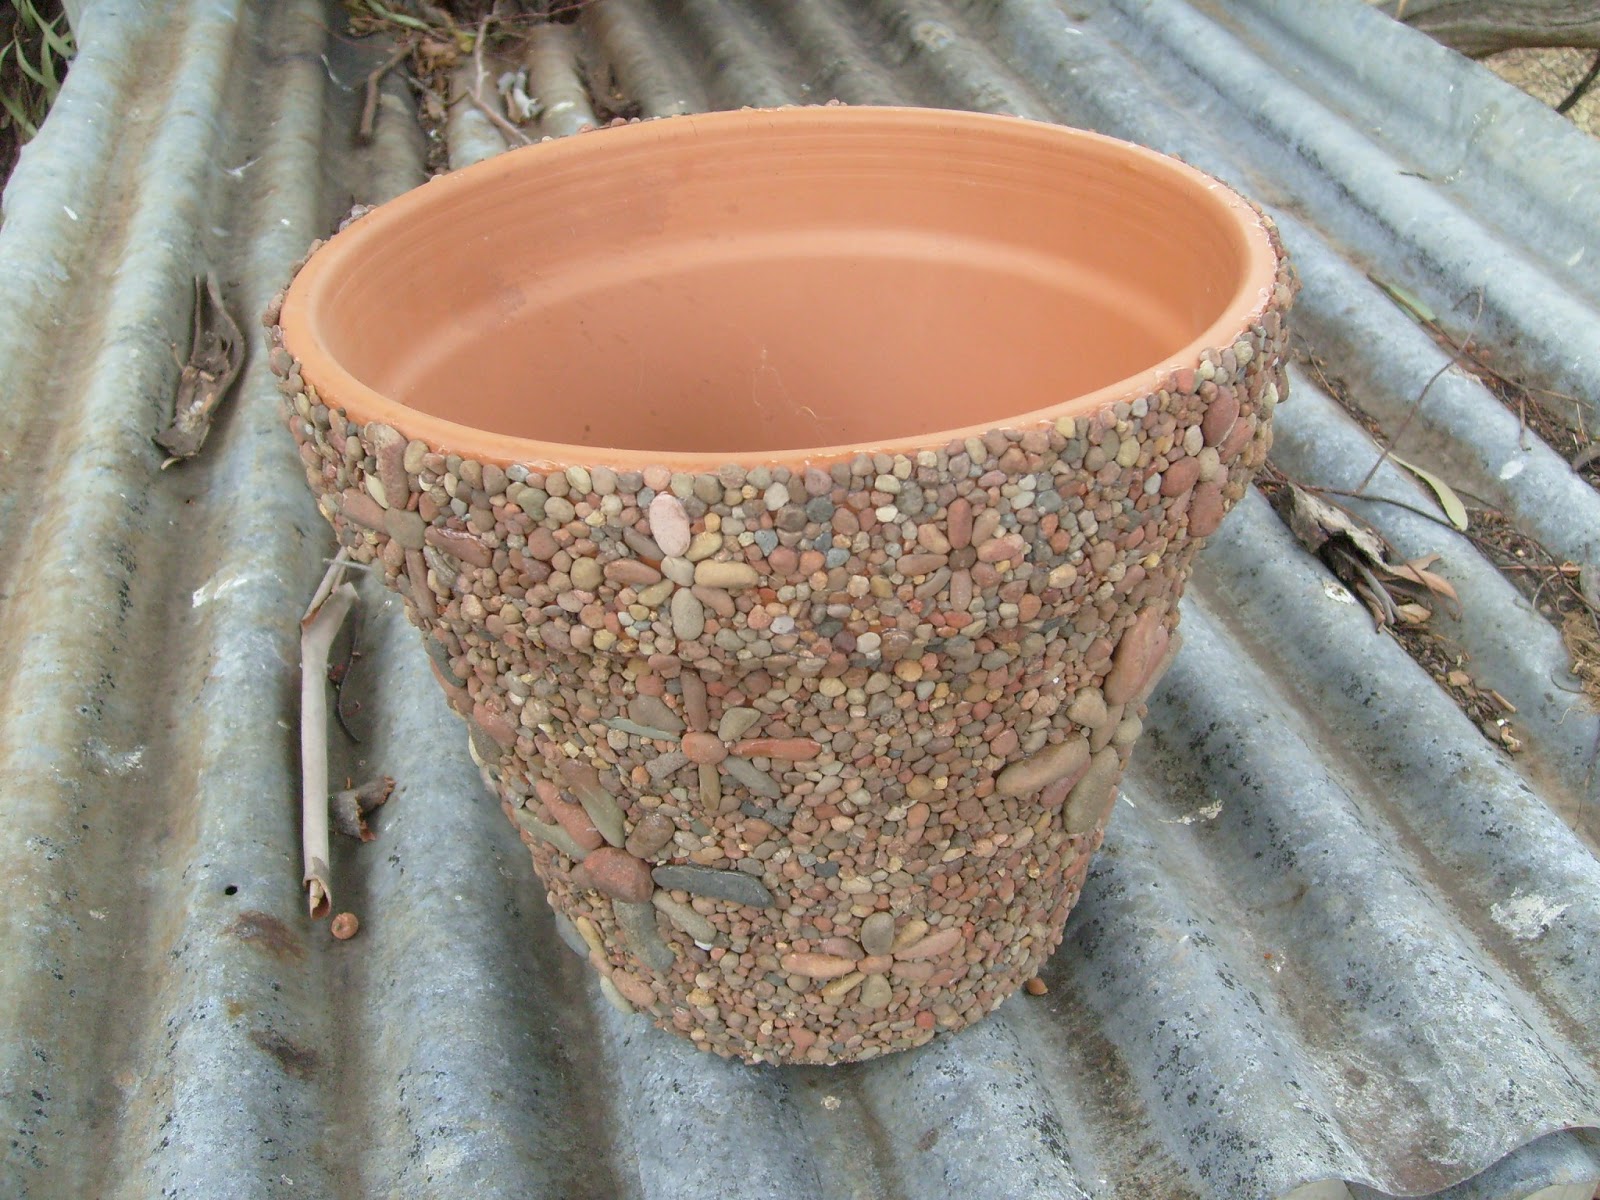
Large Flower Pebble Pot

Large 
Flower Pebble Pot


Finished project.


Pebbles to choose from ...


*  Choose a range of pebbles (or whatever tesserae you wish to use) 
and roughly shape your pebble flowers so that you can gain a perspective 
as to the spacing of them around the exterior of the pot. 
 I have them placed randomly, with different sizes placed around the pot.  
I used smaller pebbles to create the flowers bordering the top edge of the pot.


*  Make sure that you choose pebbles that naturally slot in with the others. 
 You will develop a good eye with practice and time and may even find that
 just the right little pebble will stand out from the others, as though it is meant to be.


*  Once complete, allow the pot to dry fully.  One to two days is ideal.


*  Take a small amount of glue and mix it with water in a plastic bowl or tub. 
Using a soft, clean paint or craft brush, stir and blend the solution until all the glue is dissolved and a weak, white liquid is achieved.  

*  Gently, yet liberally paint the glue solution into all the crevices between the pebbles, ensuring that every section of the entire pot is saturated.  
Allow to dry for at least a day or two.

*  Spray tile waterproofing spray all over the finished project, 
making sure that you get it into all the tiny gaps between the pebbles.  


Finished project :)


*  All finished and ready to put to good use.

**


Small Pebble RUNE Pot

Small Pebble
RUNE Pot


Finished item 


Terracotta pot to be used ...


A selection of Runes to be used ...


*  For this project I used small rounded-shaped, different coloured Rune stones 
and quirky-shaped tiny pebbles to fit in between the crevices.


*  Spreading a small amount of glue at a time, 
place each stone to its most comfortable and visual appeal.  


You may find that the ‘right’ pebbles will present themselves to you.

*  Once your project is totally dry and set (one to two days), 
make a weak solution of glue blended with water.  
Use a soft bristled paint or craft brush to blend the water and glue mixture, 
then brush the solution on all areas of your project, 
paying particular attention to the nooks and crannies between each pebble. 
 Allow to dry for a day or two.

*  Using Tile Waterproofing Spray, ensure that all stones are thoroughly covered
 and waterproofed, ideal for outdoor use.  
Allow to dry.


Finished product ...


For more information about 

Elderfuthark RUNES

visit:  
http://elderfutharkrunes.blogspot.com.au/


**

Zig-Zag Pebble Pot

Zig-Zag
PEBBLE POT


Finished project.


Terracotta pot to be used ...


*  Choose a selection of round pebbles and oblong river stones.


*  Draw the desired design on the terracotta pot using a pencil, 
tweaking it here and there to suit your taste.  
With this project I chose to use a mix of stone and decided upon a simple zig-zag design.


*  Spread glue evenly upon the section to be worked on, 
and place pebbles where you wish to achieve your desired effect.


*  Once complete, allow the pot to dry fully ... generally one to two days.

*  Mix a small amount of glue with water in a plastic bowl or tub. 
Using a soft, clean paint or craft brush, stir the solution until all the glue is dissolved 
and a weak, white liquid is achieved.  

*  Gently, yet liberally paint the glue solution into all the crevices between the pebbles, ensuring that every section of the entire project is saturated.  
Allow to dry for at least a day or so.

*  Liberally spray tile waterproofer all over the finished project,
 making sure that you get it into all the tiny gaps between the pebbles.


All finished :)


**